How to Match Any Song's Guitar Tone to Your Own Rig
Learn how guitar tone matching turns a song's gain, EQ, pickup and effects into practical settings for the guitar, amp and pedals you own.
By the ToneTwin Research Team · Evidence and uncertainty reviewed
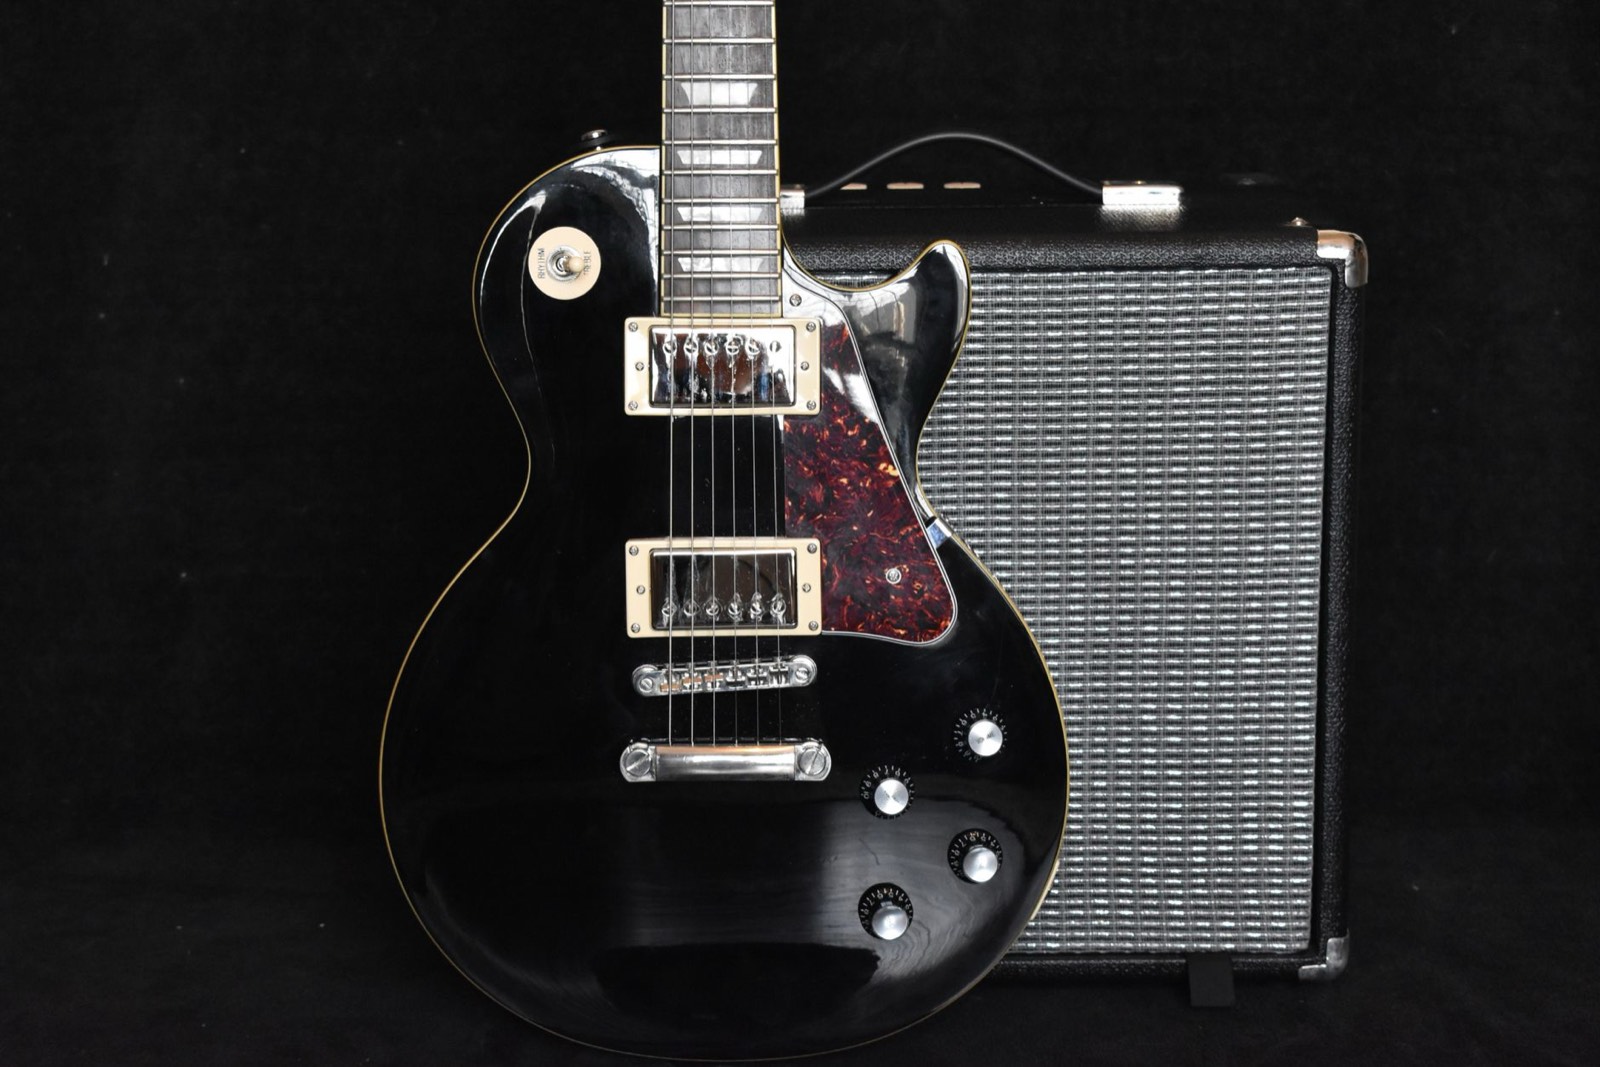
Guitar tone matching works by identifying a recording's gain structure, EQ balance, pickup and defining effects, then translating those targets to the controls available on your own rig. Copying the artist's knob numbers is less reliable because different amps and pickups respond differently.
Example: Basket Case on your practice amp
The target is dry, mid-forward crunch, not a requirement to buy the original Marshall. Here is a suggested starting point for a humbucker guitar and a Katana-50 MkII. This is an editorial example, not a generated customer result or a promise of an identical sound.
Try it on a real amp
Basket Case rhythm · BOSS Katana-50 MkII
Bridge humbucker; E-flat standard tuning
- Amp type
- Crunch; Variation off
- Gain
- 6 / 10
- Bass
- 4 / 10
- Middle
- 7 / 10
- Treble
- 6 / 10
- Effects
- Off to start
Play the palm-muted verse, then the open chords. Lower Gain if the chord edges blur. Keep the mids present and the effects dry. A single guitar will not recreate the record’s layered width.
Suggested starting point, not a measured match or a studio preset. Values use an approximate 0–10 scale. Start with Master low, select a suitable Power Control setting, then set Volume and Master to a comfortable listening level.
BOSS control reference (not the source of these suggested positions)See the Basket Case research and match it to your own amp.
You found the tab and learned the part, but it still sounds different from the record. Check your picking, tuning and muting as well as the tone: settings copied from a different amp do not necessarily produce the same sound on yours.
Matching a tone is a three-step process. Do it in order and you'll get close to almost any recording with whatever you already own. Skip a step and you'll chase your tail with the EQ all night.
How to use a guitar tone matcher
| Step | Match this | Do not copy blindly |
|---|---|---|
| 1. Identify | Pickup, gain family, signal chain and the part being played | A later live rig or an uncited gear list |
| 2. Translate | The amount of breakup and the EQ balance | The same knob numbers on a different amp |
| 3. Refine | The defining effect, playing attack and real listening volume | Every pedal from the artist's full board |
A useful guitar tone matcher must know whether you want the riff, clean part or solo. It must also map the target to the controls that exist on your equipment. If it only returns the artist's reported gear, it is a rig database, not a tone match for the player.
1. Find the real tone behind the recording
Before you touch a knob, you need to know what actually made the sound: the guitar and pickups, the amp and its settings, and the effects in the signal chain and their order. This is the part most guides skip, which is why their settings feel like guesswork. A clean Fender amp on the edge of breakup and a cranked high-gain head are different worlds, and no EQ tweak bridges them.
Three things matter most, in this order:
- The amount of dirt. Clean, edge-of-breakup, crunch, or full saturation. This is the single biggest factor and it's set mostly by the amp and any overdrive in front of it.
- The pickup. Single-coil or humbucker, neck or bridge position. This shapes the sound before the amp even sees it.
- The signature effect. Most tones have one or two defining effects: a slap-back delay, a spring reverb, a fuzz. The rest is detail.
Every tone in our tone database lists the reported recording gear, pedals and chain order with sources. It does not turn generated historical knob values into fact. That evidence and the audible gain and EQ character become the target for your own rig.
2. Translate the tone target to your amp
Here's the step that separates a useful match from copy-paste. Even when an original control position is documented, it belongs to a specific amp. Your amp has different gain structure, a different EQ stack, maybe one channel instead of three. So you translate the intent of each setting:
- Gain: match the amount of breakup, not the knob position. If the record is just-breaking-up and your amp is gainier, you'll use a lower number to land in the same place.
- EQ: match the balance, not the values: bright or dark, scooped or pushed mids. A bright single-coil into a dark amp needs more treble than the recording's number suggests; a dark humbucker needs less.
- Pickups: neck vs bridge and humbucker vs single-coil changes everything before the amp. Get this right before you blame the EQ.
If you want the per-control breakdown of what each knob does, read amp settings explained next.
3. Map the effects onto the pedals you own
A song's effects are part of its DNA: the slap-back delay, the spring reverb, the specific overdrive pushing the front of the amp. You rarely own the exact pedals, and that's fine. What matters is the type of effect, its setting, and where it sits in the chain. A different overdrive in the same spot, set to the same job, gets you most of the way there. If a key effect is missing entirely, an amp-only workaround or an affordable substitute usually covers it. Chain order matters more than people think, which is why we wrote the pedal order guide.
What this looks like in practice
Take a classic rock crunch tone. The record might be a bridge humbucker into a cranked British amp on the edge of breakup, with a light overdrive pushing the front and a touch of room reverb. You own a single-coil guitar and a clean-ish modern amp. You don't copy the knob numbers. You select the bridge pickup, add a bit more mids than the record shows (single-coils are thinner), set your gain so it just breaks up on hard strumming, put your overdrive in front set low for grit rather than its own distortion, and add a hint of reverb. Same intent, different numbers, and it lands in the same neighbourhood.
Common mistakes
- Copying knob numbers literally. A “5” on one amp is not a “5” on another.
- Ignoring the pickup selector. The most common reason a tone sounds wrong, fixed in one second.
- Too much gain. It feels powerful alone and turns to mush in a mix. Back it off until notes ring clearly.
- Wrong chain order. Delay before distortion smears; modulation in the wrong spot muddies everything.
- Chasing the exact pedal. The type and setting matter far more than the brand on the box.
Where to start
The quickest wins are songs whose tone you already half-know. Open the tone database, find a track you love, and dial it in. Land one match and the process clicks for everything after it.